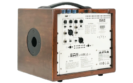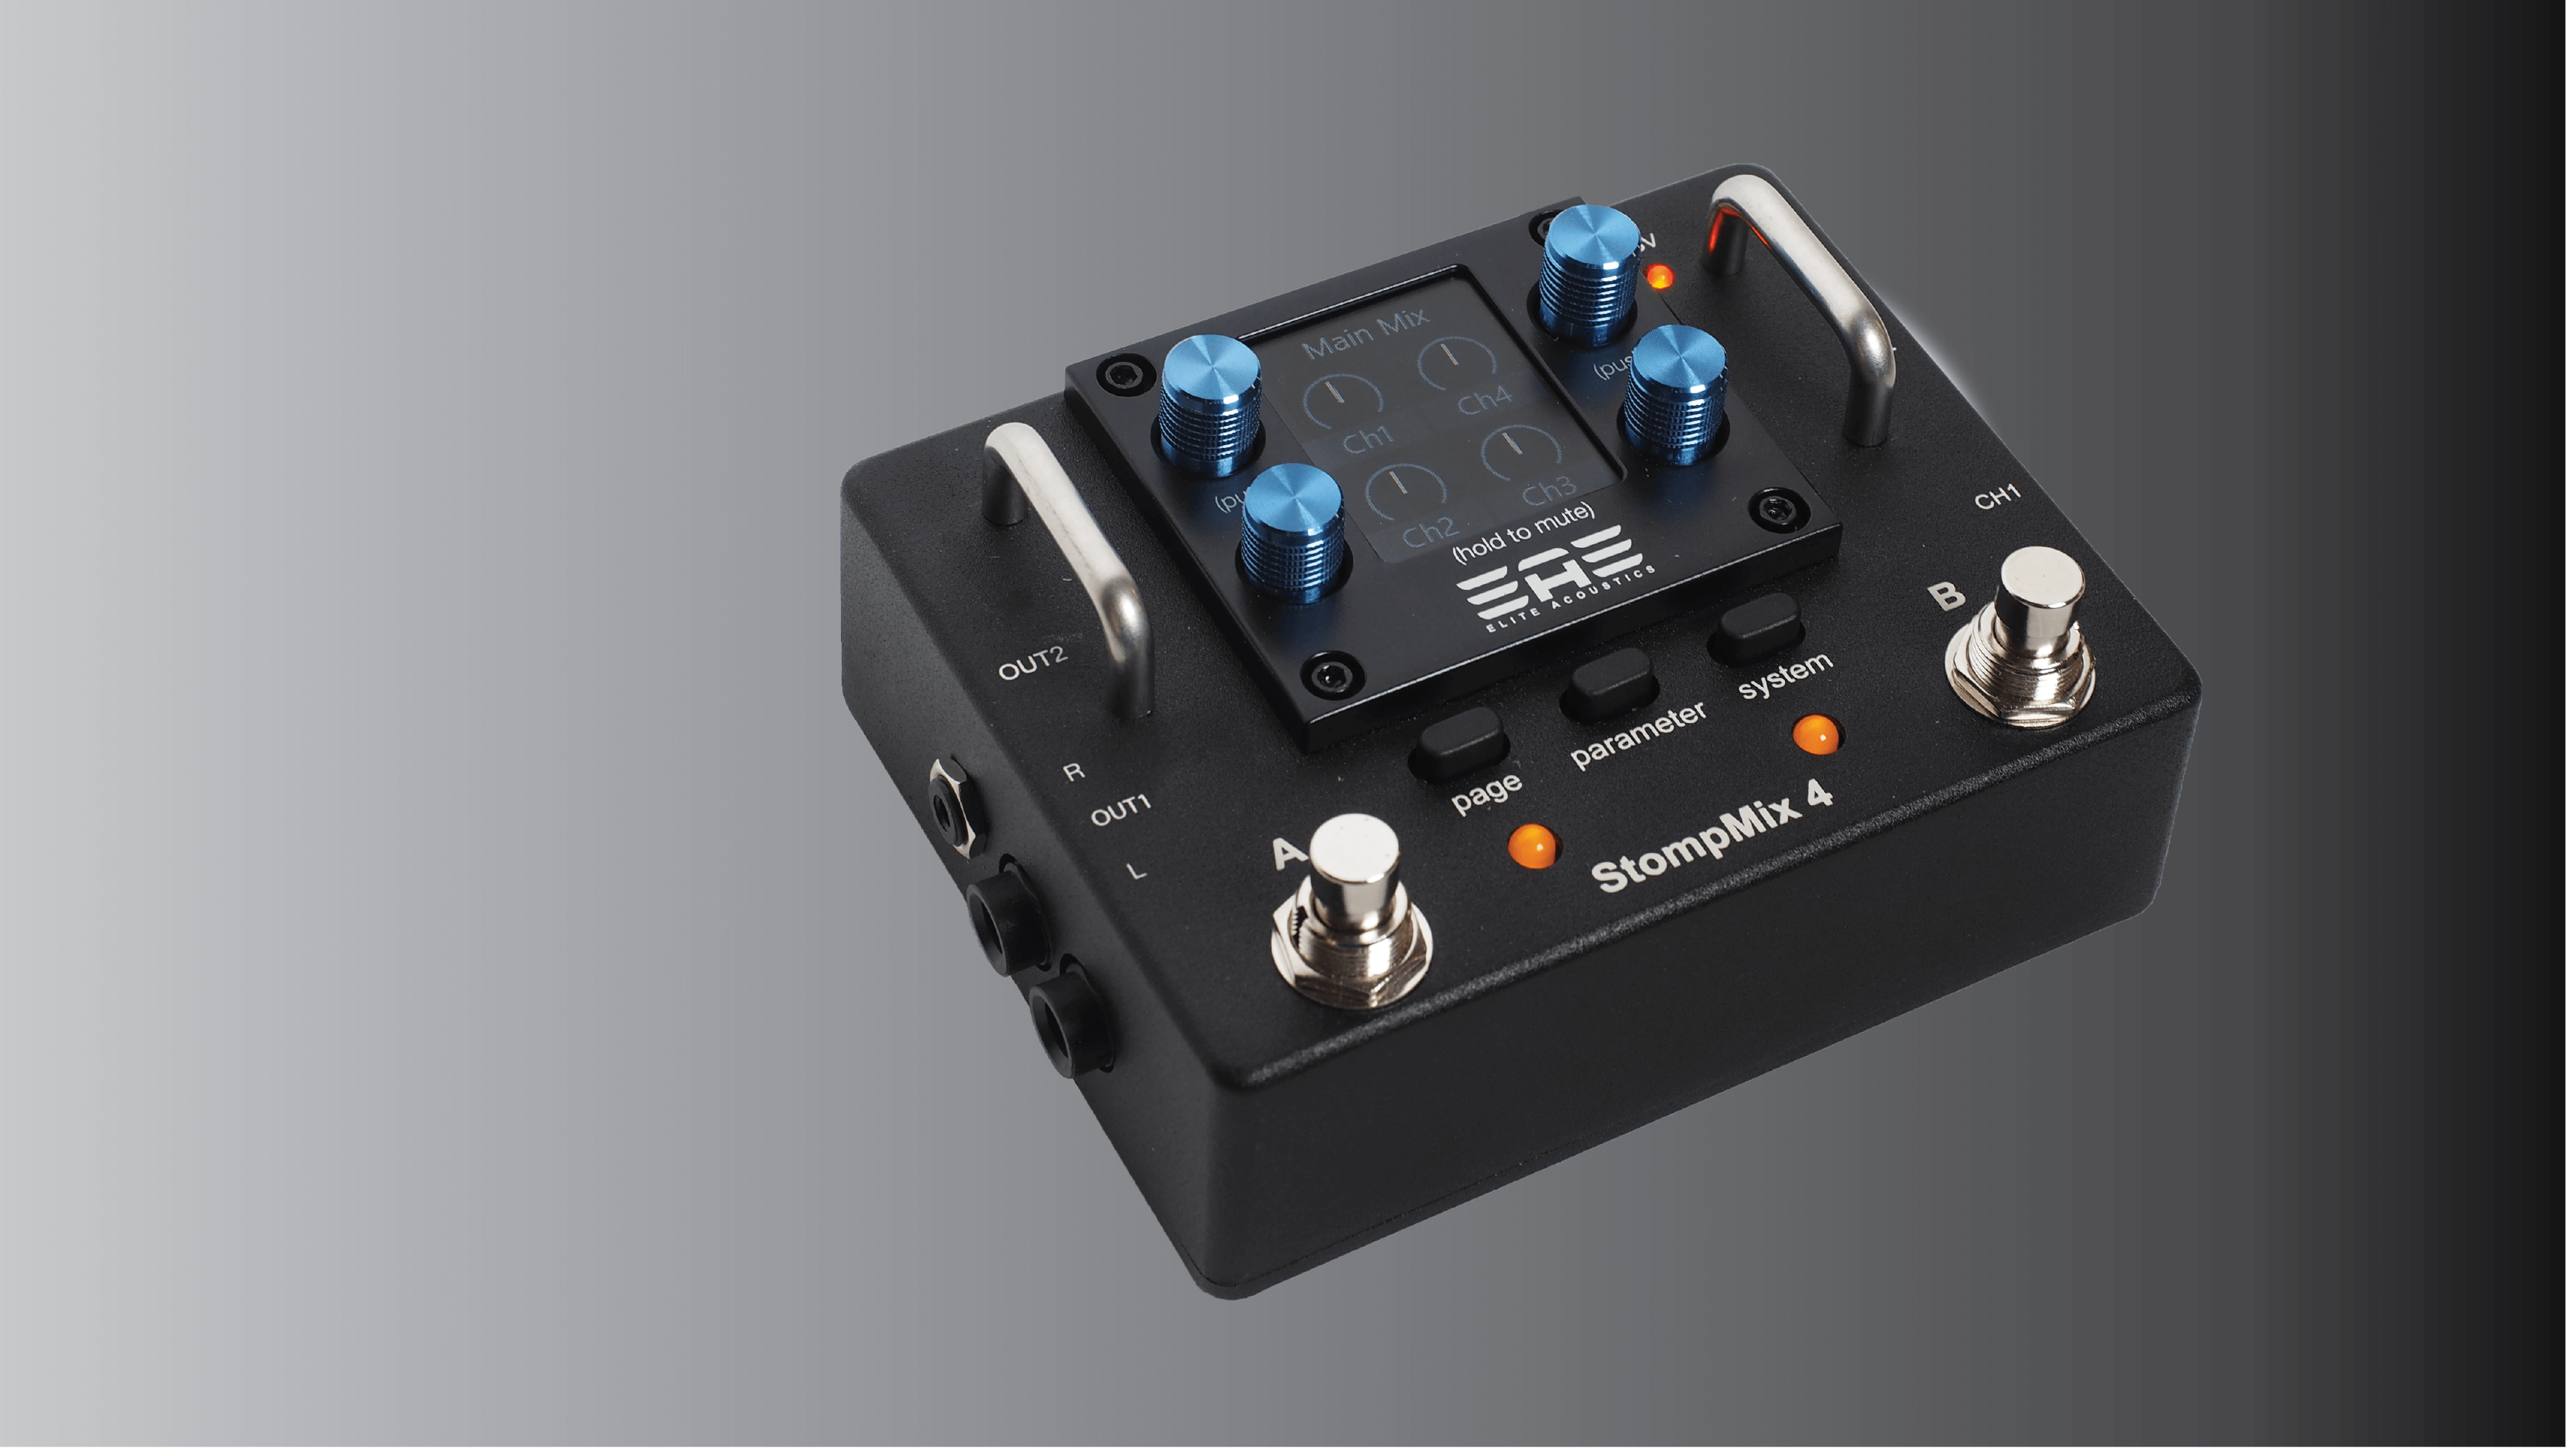
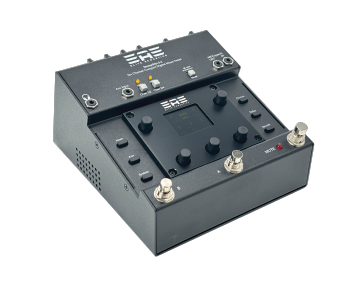
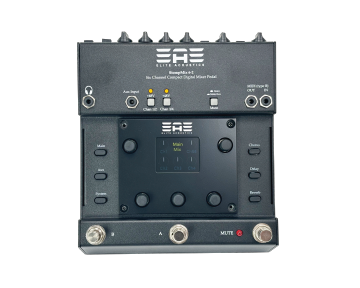
StompMIX 6-2 - Six Channels Pedalboard Digital Mixer
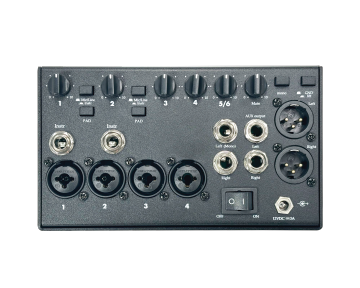
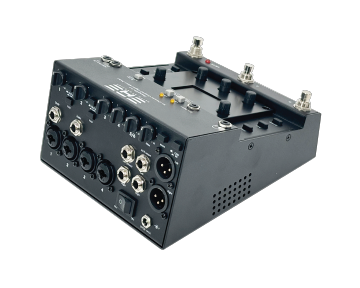
The StompMix 6-2 compact digital pedalboard mixer packed a 32-bit DSP engine to a lightweight and compact stomp box package. The StompMix 6-2 offers a full featured, highly intuitive 6 channels Digital Mixer with a Color Display. The powerful DSP engine provides a compressor, limiter, Mid sweepable EQ, Highpass Filter, Notch Filter, Phase reverse to each of the 4 Mic inputs. The StompMix 6-2 features Reverb/Chorus effects processors with dedicated mix bus, an assignable Delay effects processor, and 4 Class A solid-state Mic pre-amps with +48V Phantom power. We added 2 Footswitches allowing instant access to stored scenes for easy and fast setup.
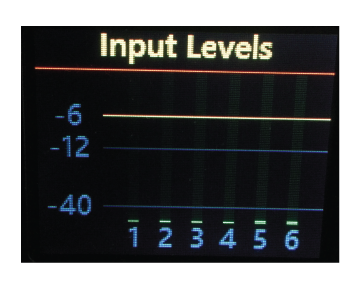
Some Screen Shots from the StompMix 6-2, X6, D6-8, D6-58 DSP engine. We may update our firmware to add functions as we get feedback from our customers.

StompMix 6-2 Features
- 6-Channel Compact Digital Mixer Pedal
- 2 High Z (1M OHM), 4 Mic and 6 Line inputs
- +48V Phantom Power
- Independent Effects on each channel
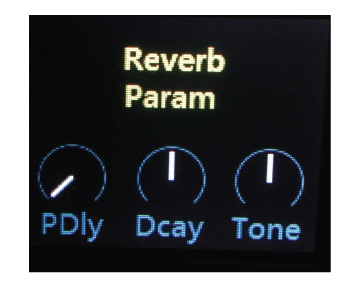
- Noise Gate, Compressor, EQ, Reverb,
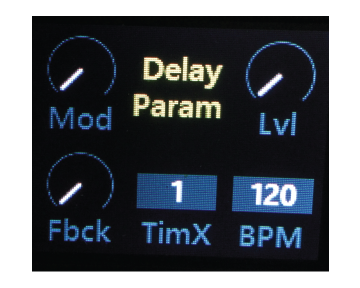
Chorus, Delay, & more - Main MIX (XLR) output EQ
- Main Mix headphone outputs (1/8″ jack)
- Auxiliary Input (1/8″ jack)
- MAIN and AUX output level controls,
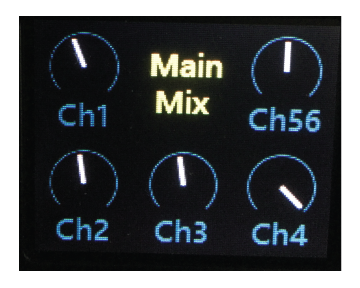
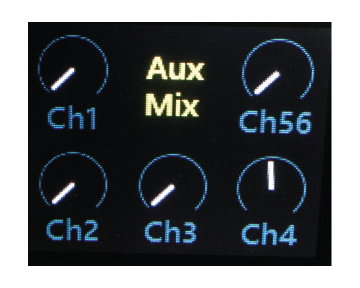
- Main MIX and AUX MIX Outputs
- Main MIX (MUTE) – via Footswitch
- Scenes Change – via Footswitches.
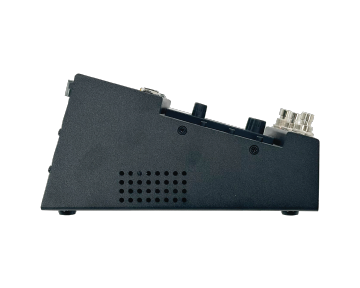
- Metal chassis
- Panel-mounted POTs/Jacks
- AC/DC power supply
- Designed and assembled in USA
Check out this introduction video
Scenes Change via MIDI
- Scenes 1-10 can be instantly recalled upon receipt of MIDI program changes messages (program 0-9). Bank change messages are not supported.
Save and Load Scenes
How to save and recall/Load Scenes.
a. Save –
> 1) Press “system” button 2 times, until you get to the “scenes” page.
> 2) change “mem” number to the scene you want to use, example “9”. — by turning the lower left encoder.
> 3) turn the lower right encoder “save” clockwise a few times, the arrow above the “save” should move.This should save current settings in memory “9”. Save Several Scenes setting with different memory locations before using recall to check.
b. Load –
1) Press “system” button 2 times, until you get to the “scenes” page.
> 2) change “mem” number to the scene you want to use, example “9”. — by turning the lower left encoder.
> 3) turn the lower middle encoder “Load” clockwise a few times, the arrow above the “Load” should move. This should load what is in memory “9” into current settings.
A and B Footswitches can also be used for loading and changing the scenes.
Press the “main” button and double check,